
When it comes to mobile photography, lighting plays a crucial role in capturing stunning and professional-looking images. The way you utilize light can make or break a photo, regardless of the quality of your camera. Knowing the best lighting techniques can significantly enhance your mobile photography skills and take your photos to the next level. In this article, we will explore some of the top lighting techniques that you can use to improve your mobile photography game.
**Natural Light is Your Best Friend**
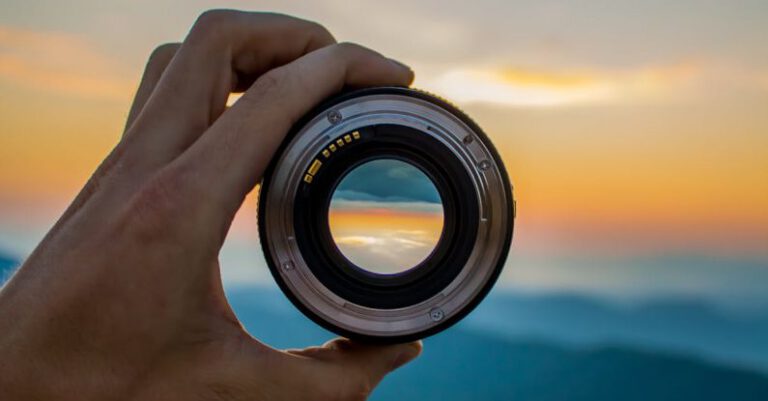
Natural light is often the most flattering and versatile source of light for photography. When shooting outdoors, try to take advantage of natural light by positioning your subject facing the light source. Avoid shooting directly into harsh sunlight, as it can create unflattering shadows and overexposed areas in your photos. Instead, look for open shade or soft, diffused light, such as during the golden hour (the hour after sunrise and before sunset) for a warm and soft glow in your images.
**Use Reflectors and Diffusers**
In situations where natural light is not readily available or is too harsh, using reflectors and diffusers can help manipulate the light to achieve the desired effect. Reflectors bounce light back onto your subject, filling in shadows and creating a more balanced lighting situation. On the other hand, diffusers soften harsh light by scattering it, resulting in a more even and flattering light source for your photos. You can purchase portable reflectors and diffusers or even make your own using materials like white foam boards or sheer fabrics.
**Experiment with Artificial Light Sources**
While natural light is ideal for mobile photography, there are times when you may need to rely on artificial light sources. LED lights, ring lights, and even household lamps can be used creatively to illuminate your subject and add a unique touch to your photos. Experiment with different types of artificial lighting to see how they affect the mood and atmosphere of your images. Remember to adjust the intensity and color temperature of the light source to achieve the desired look for your photos.
**Play with Shadows for Dramatic Effect**
Shadows can add depth, dimension, and drama to your photos when used creatively. Instead of trying to eliminate shadows altogether, embrace them as part of your composition. Experiment with backlighting to create silhouettes or use dappled light filtering through foliage to add an interesting pattern to your images. By playing with shadows, you can create visually compelling and dynamic photographs that stand out from the rest.
**Master the Art of Portrait Lighting**
When taking portraits with your mobile phone, pay close attention to how you light your subject’s face. For flattering portrait lighting, aim for soft, diffused light that minimizes harsh shadows and highlights facial features. You can achieve this by positioning your subject near a window or using a reflector to bounce light onto their face. Avoid direct overhead lighting, as it can create unflattering shadows under the eyes and nose. Experiment with different angles and intensities of light to find the most flattering lighting setup for your portraits.
**Conclusion: Elevate Your Mobile Photography with Lighting**
Mastering lighting techniques is essential for improving your mobile photography skills and capturing stunning images. Whether you’re shooting portraits, landscapes, or close-up details, understanding how to manipulate light can make a significant difference in the quality of your photos. Experiment with natural light, artificial light sources, shadows, and diffusers to create visually compelling and professional-looking images with your mobile phone. By incorporating these lighting techniques into your photography workflow, you can elevate your mobile photography game and produce captivating images that stand out from the crowd.